Showing posts with label Room Preparation. Show all posts

Wednesday, September 30, 2020

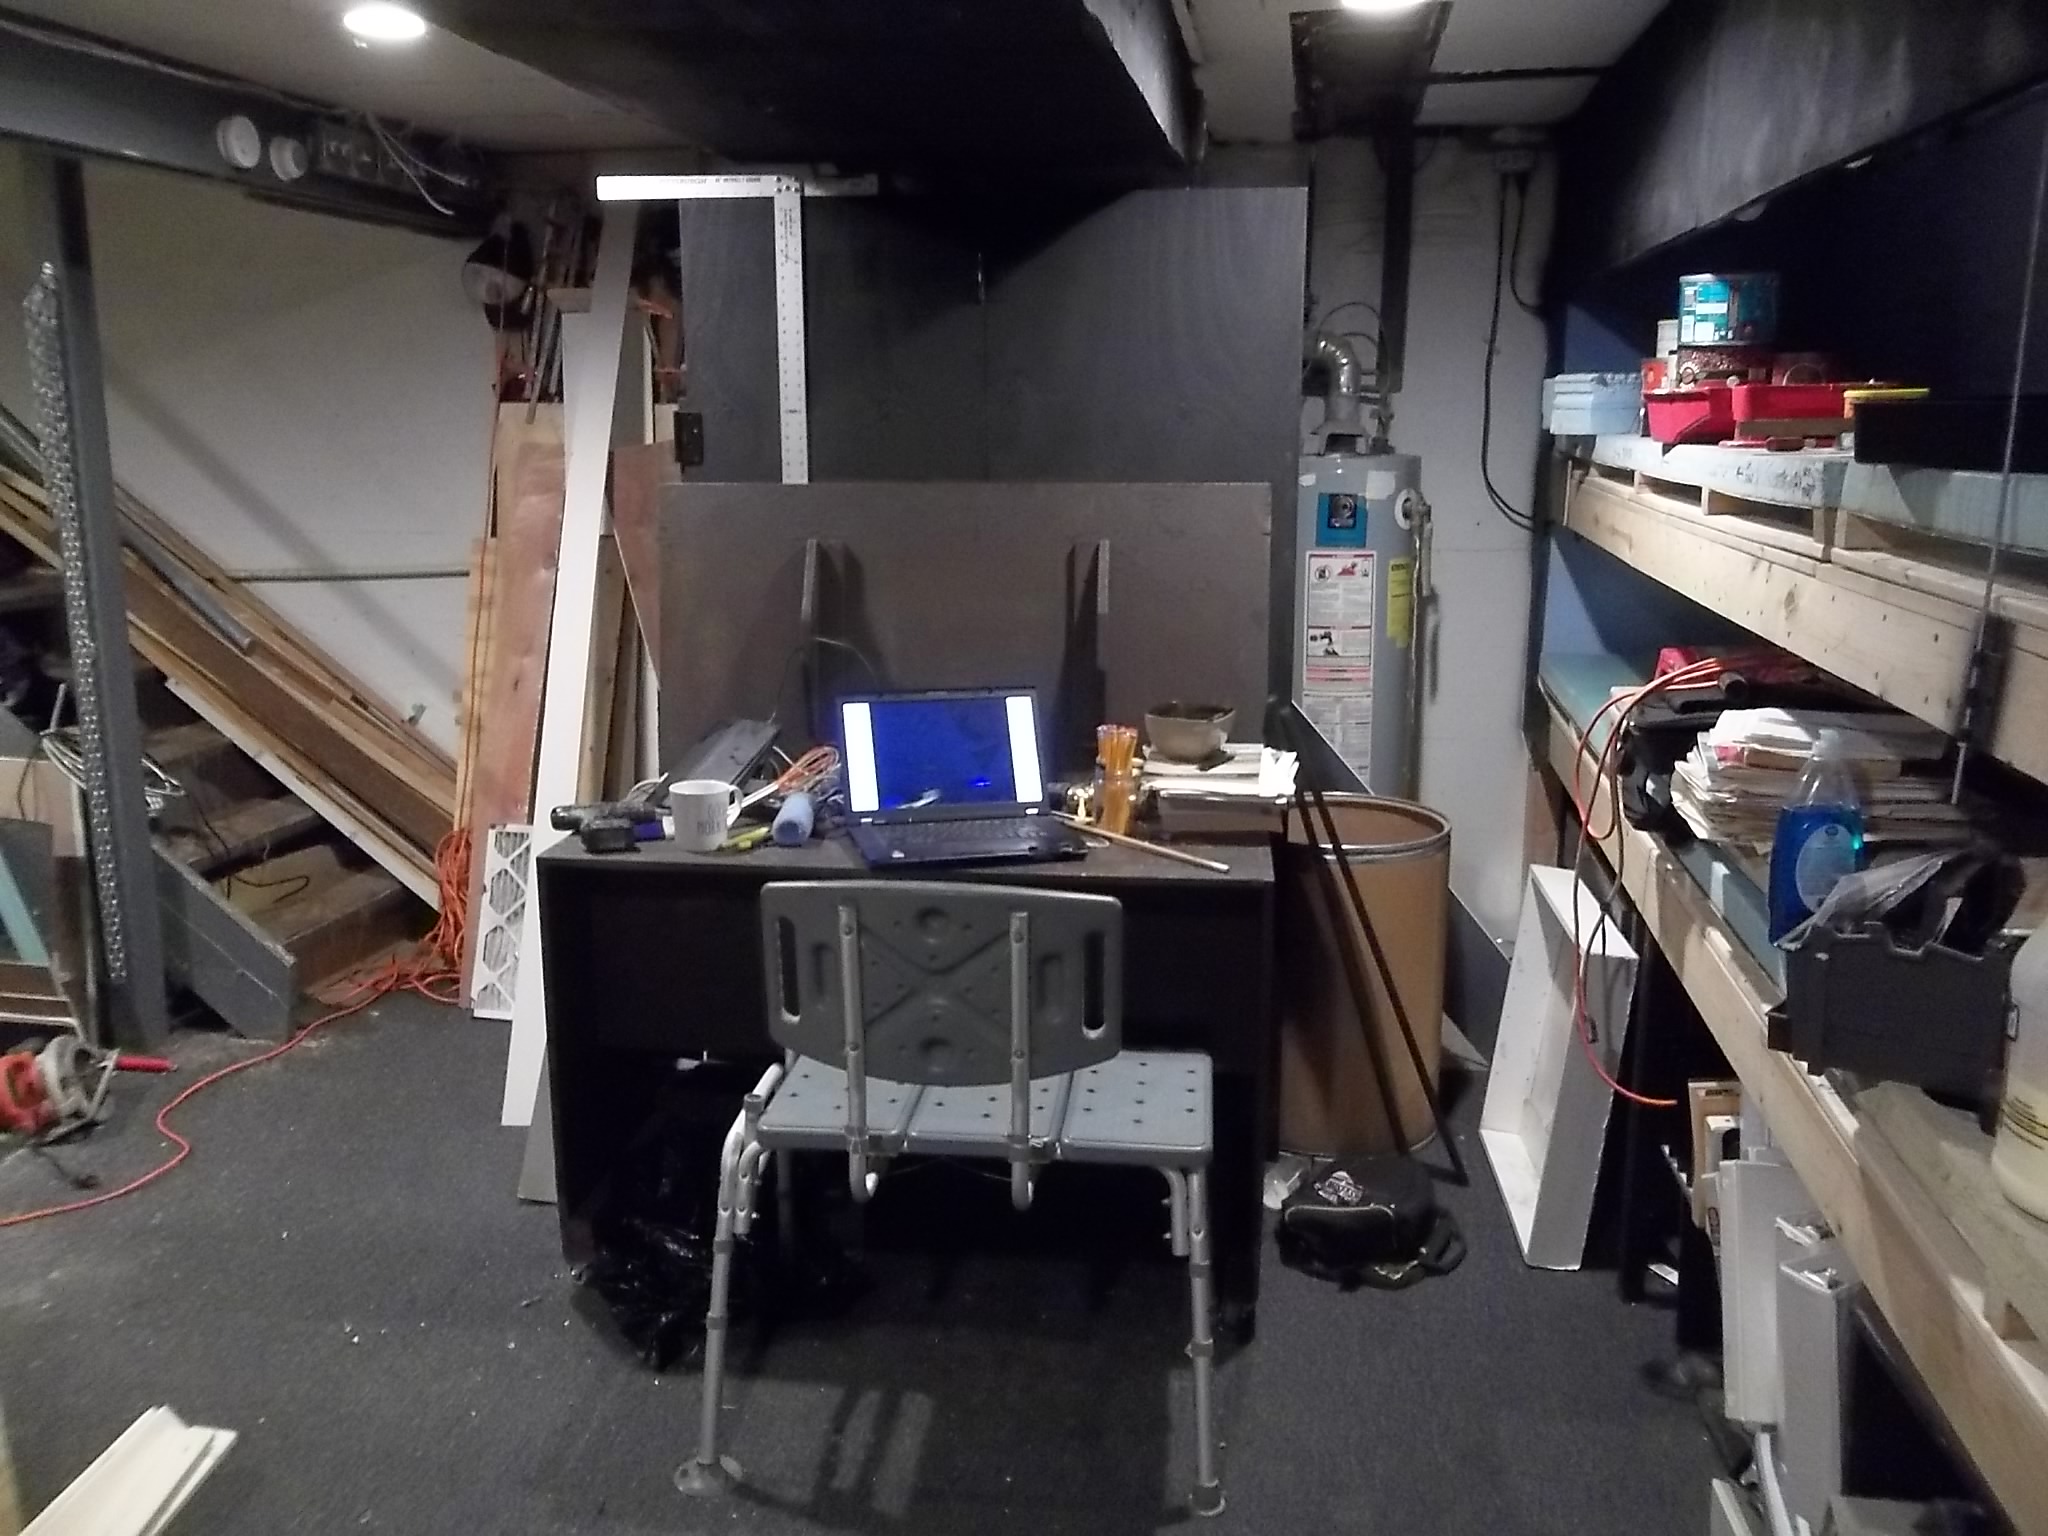
Layout Room Cleanup

 Well its fall and time to head back to the layout room and continue the hands on railroad modeling experience. 

As you have been checking out my construction blog posts its very obvious by the pictures that im not a neat freak. I'm pretty messy in fact and I cant tell you the number of times I've shifted construction material etc back and forth in the basement as I progress around the walls. 

When last i spoke of construction back in June, the north (left) side of the layout had been completed ... stud wall, backdrop, valence, upper and lower deck l-girders and module renovation and construction. I got a number of storage shelves and cabinets installed and painted, and have started sorting, organizing and more importantly throwing scrap material out that I cant use or I dont need anymore. 


As you can see its gotten a whole lot cleaner - and just in time to start right of way construction! 

I also did some electrical work as well, finishing the installation of outlets around the perimeter and getting all the new lighting wired to the circuit breaker. This then allowed me to finish drywalling the ceiling in zone 1 (also known as the workshop and crew lounge.) Using this area as the final costruction zone (cutting and assembly etc) will keep the rest of the layout alot cleaner and better organized.


Wednesday, May 13, 2020

Room Preparation 6

Room preparation continues in zone 3 .I had a couple days off and went into a construction frenzy.

I went out and rented a drywall lift because the ceiling on this side of the basement is unemcombered with heating and cooling ducts and water and gas lines. 

While it took a bit of time to clear out the stuff cluttering the floor, the drywall went up easily and my back is certainly thanking me for renting this labor saving device. 


The ceiling was spackled along the center peninsula to a depth of three feet into the room. After sanding that part of the ceiling was painted.

The return air duct was insulated and painted black.

Another two rolls of carpeting went down on the floor and was aligned and taped to the two rolls in Zone 2 and 4. 

Wednesday, April 29, 2020

Room Preparation 5

A good cleaning of Zone 2 and 4 was necessary for installing carpeting.

Carpeting should have been installed much earlier in the room preparation process and is properly identified in the room preparation project worksheet located here.

I used indoor outdoor carpeting purchased from Home Depot. It's a medium shade of gray which i think will go well with the black valence and fascia. No padding was installed underneath but i did install several pieces of heavy mil plastic under the carpet in two areas that had some light water seepage to prevent recurring wetness under extreme rainy weather.


I used two 12-foot wide sections, one 16-foot long and one 12-foot long. The two sections were carpet taped together to form one continuous length. The carpet was cut around the furnace and water heater.


I also took this time to cover the glass block window located in the east wall with a navy blue window covering. The material was stapled to the 2"x2" inch lumber used as the header for the compression stud wall, and tucked behind the stud.


The train room is starting to look complete and is certainly a morale booster to me.


Wednesday, April 22, 2020

Room Preparation 4


 Room preparation continues in Zone 2 and 4.

I finished hanging drywall, spackled and pained the last bit of ceiling in Zone 2. I used luan paneling cut to size to form utility access panels along the water lines.


The next step was to add 1/2 inch styrofoam insulation and HVAC tape to insulate the furnace ducts that were located below the ceiling lines.


Upon completion of the insulation installation, the ductwork was painted black to hid it from normal viewing.


Wednesday, February 5, 2020

Room Preparation 3

The left half of the concrete foundation walls were painted with waterproofing paint.

An electrician came in and installed 8 Can lights with LED lamps for general illumination. Two can lights in each zone with its own switch (4 switched circuits). Each came with its own 9w LED (65w equivalent). Lots of light and very low current draw. Better than it was before though i may replace them with 100w equivalents. Either way - best of both worlds.

Began to install dry wall onto the ceiling. I ran 2x2 lumber along the edge of the sill to have a place to anchor wall framing (to be discussed later). Then I ran 1x3 lumber along the edges of the wall, a 1x3 two feet inside (for a screw point for the drywall AND a screw point for the valence (to be discussed later), and 1x4's (for screw points) where two dry wall boards meet.


 I also decided to create removable plates for areas where plumbing ran through the ceiling (I hate tearing out drywall to find water leaks). This changes some locations of 1x3's.


I've only managed to get 7 drywall panels installed, taped and mudded so far. Time for a labor saving device (a dry wall lift) to install the remaining 20 panels.

Wednesday, January 29, 2020

Room Preparation 2

Constructing the one interior wall separating the utility room (Zone 1) from the remainder of the railroad room was completed quickly. An 8' stud wall was constructed and 4 sheets of drywall were installed and taped, joint compound applied and sanded. Two coats of paint was applied.

The Dispatcher's desk and book cabinet installed on the layout side. The open space on the left of the Dispatcher's desk will be the helix location.


The workbench and the supply shelves are located on the other side. A microwave will be located on a shelf over the left side of the laundry set tub. The dehumidifier will be relocated below and to the right of the workbench.  


About half of the foundation about the sill has been insulated with 1/2 inch styrofoam and R19 fiberglass insulation.

I constructed a tool caddy to hold all the construction tools and nuts, bolts, screws, etc.,  necessary for room preparation. It includes a fan for ventilation and cooling.


Under the stairs is an open space that will contain the heavy tools and supply storage. Right now its a junk storage location.


Wednesday, January 22, 2020

Room Preparation 1

After deconstruction was complete the basement was surveyed to determine what needed to be done before the railroad was installed.

I needed to construct one interior wall separating the utility room (Zone 1) from the remainder of the railroad room. The Dispatcher's Desk would located on one side and the Workbench and supply shelves located on the other side.

The foundation about the sill needs to be insulated with 1/2 inch styrofoam and R19 fiberglass insulation.

One crack needs to be repaired in the south foundation wall.

All concrete foundation walls need to be painted with waterproofing paint. 

The basement was initially lit with 4 ceramic sockets each with a 100w incandescent light bulb. Those 4 bare bulbs are to be replaced by 8 Can lights with LED lamps for general illumination (4 switched circuits).

The ceiling needs to be drywalled to reduce dust infiltration from the open rafters.

A basic frame wall using 2x4's and 2x6's needs to be installed along each wall and down the center line to support the layout's backdrop and L-Girder framework.

Electrical outlet's need to be installed along the outer and center peninsula framing.

The electrical circuit box needs to have 4 additional circuit breakers installed for layout lighting circuits.

A carpeted floor needs to be installed for operator comfort and for overall appearance.


Wednesday, January 15, 2020

Deconstruction

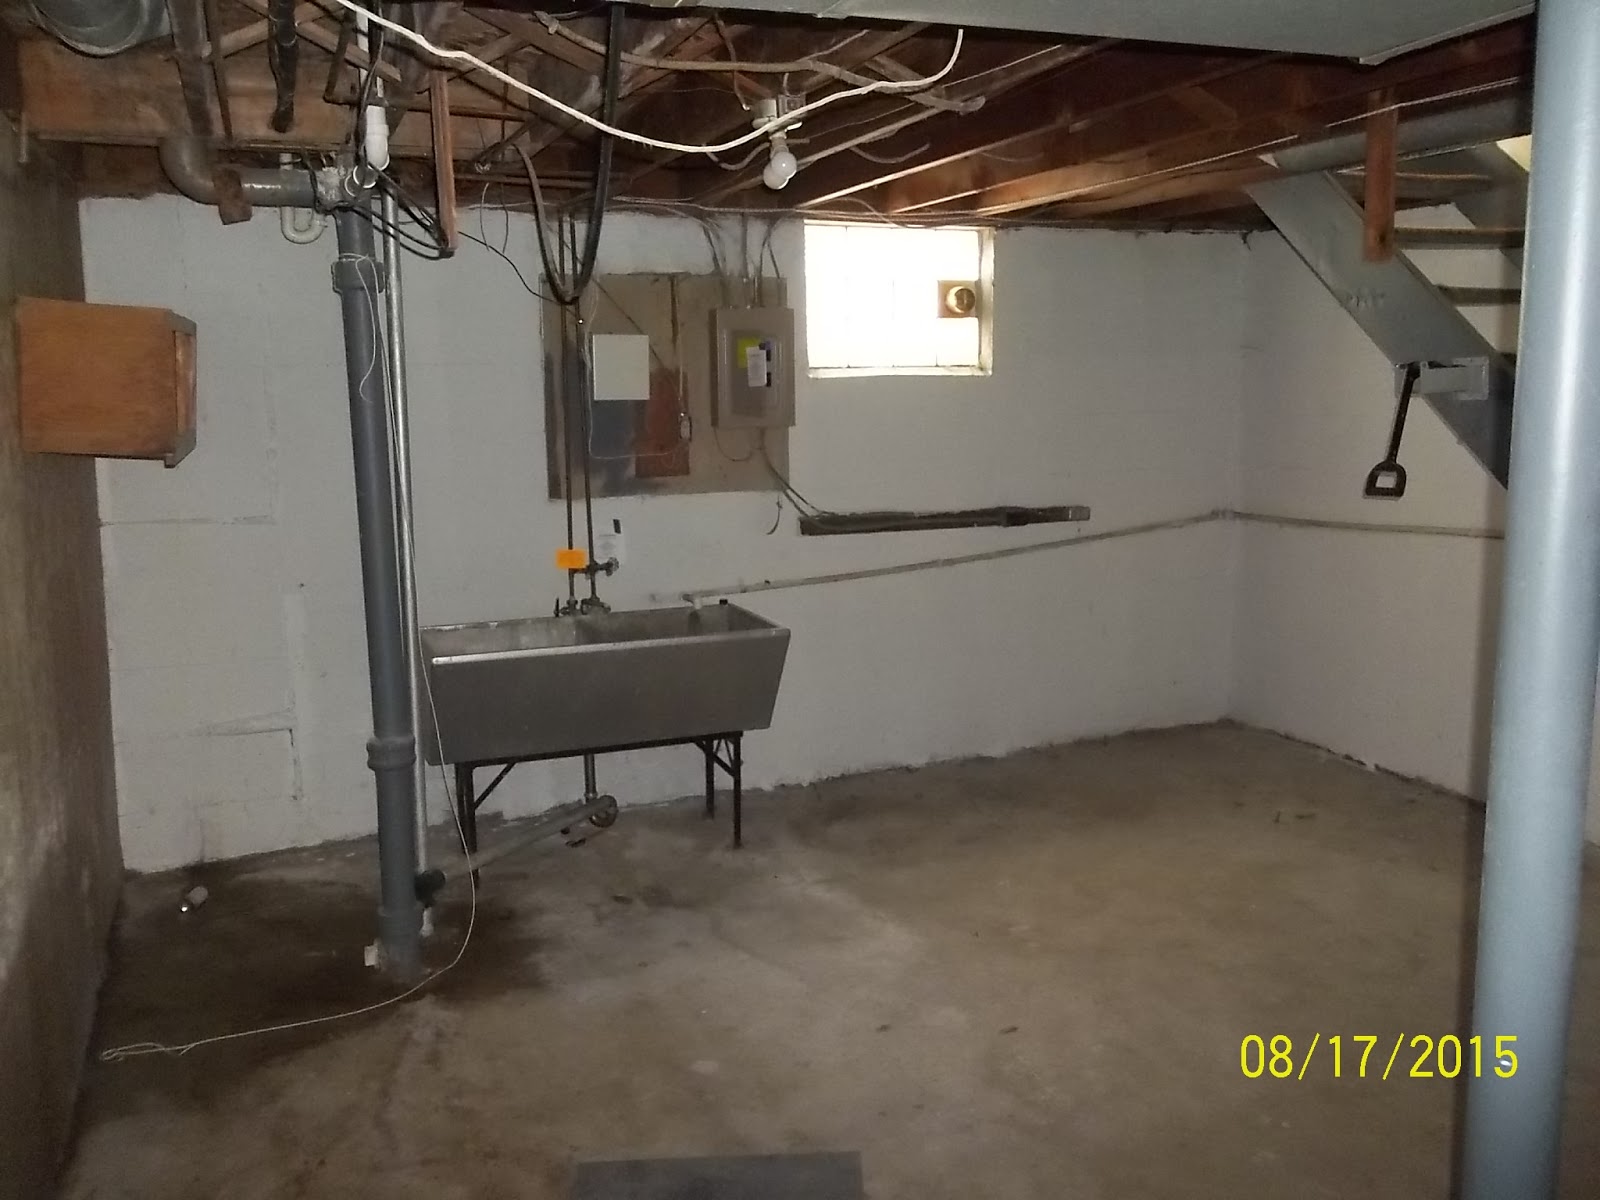
On August 21, 2015 I bought a basement - with a house above it for the new location of the WWSL. The move from the previous location with quickly - a matter of hours in fact, as the railroad was in storage.

Now wiser heads will tell you that its best that your railroad room be empty during deconstruction and construction - and I knew it - but anticipation got the best of me and things started quickly.

The original basement (25' by 30') was divided into 4 sections and two sections were partially paneled. That paneling was backed with a 1x2 stud wall - adequate for cedar paneling but not a railroad.


 I quickly tore out the walls and the paneling found a new home somewhere else.

Half the ceiling was finished with drywall and mineral fiber based ceiling tiles. As expected, the ceiling tile was disintegrating, stained or missing. The drywall and ceiling tiles were torn out and disposed.

Not shown is a partially tiled floor - that too was demolished for future replacement by indoor/outdoor carpeting.