Prototype Information
In meteorology, a cloud is an aerosol consisting of a visible mass of miniature liquid droplets, frozen crystals, or other particles suspended in the atmosphere of a planetary body or similar space.Water or various other chemicals may compose the droplets and crystals. On Earth, clouds are formed as a result of saturation of the air when it is cooled to its dew point, or when it gains sufficient moisture (usually in the form of water vapor) from an adjacent source to raise the dew point to the ambient temperature.
While clouds appear in infinite shapes and sizes, they fall into some basic forms. From his Essay of the Modifications of Clouds (1803), Luke Howard divided clouds into three categories: cirrus, cumulus, and stratus, plus a fourth special type, nimbus.

| Cirrus (Cirro-form) The Latin word "cirro" means curl of hair. Composed of ice crystals, cirro-form clouds are whitish and hair-like. There are the high, wispy clouds to first appear in advance of a low-pressure area such as a mid-latitude storm system or a tropical system such as a hurricane. |

|
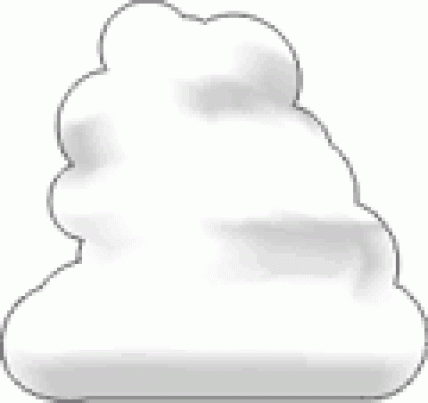
Cumulus (Cumulo-form) Generally detached clouds, they look like white fluffy cotton balls. They show vertical motion or thermal uplift of air taking place in the atmosphere. They are usually dense in appearance with sharp outlines. The base of cumulus clouds are generally flat and occurs at the altitude where the moisture in rising air condenses. |

|
Stratus (Strato-form) From the Latin word for "layer", these clouds are usually broad and fairly wide spread, appearing like a blanket. They result from non-convective rising air and tend to occur along and to the north of warm fronts. The edges of strato-form clouds are diffuse. |

|
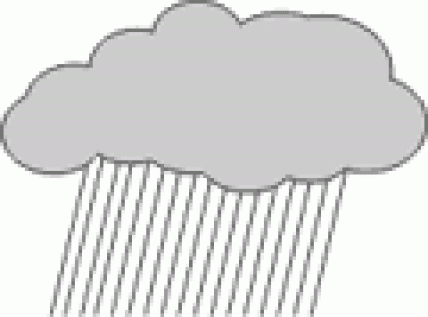
Nimbus (Nimbo-form) Howard also designated a special rain cloud category which combined the three forms cumulo + cirro + stratus. He called this cloud "nimbus", the Latin word for rain. The vast majority of precipitation occurs from nimbo-form clouds and therefore these clouds are generally the thickest. |
In an online clinic I watched, the lecturer remarked that “there are no bad clouds”, suggesting that a modeler can’t really screw up a cloud – just look skyward at the huge variety of clouds. That lecturer certainly didn't know me !
The WWSL scenery rule is simple: I see the trees - not the forest. Scenery is primarily close up. The majority of my sky is not seen, particularly on the lower level of the layout and what is seen is the look of a
cloudless, sunny September day in western Washington. This suggests my
cloud modeling would be either nothing or at best cirrus type.
- Size. The closer to the horizon the cloud is, the smaller it should be. Additionally, the closer the cloud is to be to the horizon, the more the base sky color should be added to the cloud color to emphasize distance and haze.
- Color. Clouds have varying colors depending on the weather, climate, and even time of day.
- Composition. Use photo references to make the clouds more realistic. I am using a number of photographs to assist me in the development of the WWSL, particularly for the several 'vignette' locations. I have sky/cloud pictures for each section as photo references. Determine the type of cloud and where the sun is supposed to be in your room,.
I'll try my luck with the Bob Ross method.
|
Tools Overhead projector* transparency* cloud stencils *optional |
Materials Titanium White |
Painting the clouds
Top dark sky velvet blue with Matte Medium and a bit of water. I then applied the paint to the backdrop with a large 4 inch soft bristled brush in long horizontal strokes.circular deep grays to create the ominous approaching thunderstorm using both 2 inch paintbrush with bold random strokes. mix up some of the gray and white, about 50/50. Jab paint this on the bottom and side away from the sun. Again, keep it irregular.
Blend it into the grays with light jabs at the meeting points. This will make it look like puffs on your side of the cloud. Now, mix up some of the straight gray and even up the bottom of the cloud and farthest section of the clouds (from the sun).
Finally I painted the distant hillside. The distance is such that a simple shape is sufficient. This hillside must be painted in first before the distant low rain clouds can be painted. See 5.4.2.1 for my far hillside painting technique.
I have a single cloud with this rain depicted as virga, rain that evaporates back into the atmosphere before it hits the ground.
2. Colors. I am using rattle can paints for this cloud build. The colors are Krylon White, Brilliant White and White Onyx for the stratus clouds.
|
Tools spray can handle cloud stencils |
Materials Krylon White Brilliant White and White Onyx |
Remember that the cloud will be irregular at the top, but
mostly flat across the bottom. Paint the top edges and about half way
down into the cloud with the titanium white. I went back with a
slightly thicker mix of Titanium White and Matte Medium and added a few puffy
areas on the tops of the clouds to add a bit of definition.
I started with my cloud stencil No.1 in the upper left corner and worked down
the lower right corner.
Painting the cloud.
Then I used the cloud templates to airbrush some Tamiya white clouds in. I cut pink foam strips to elevate the template so the clouds would end up with softer lines, and taped it in place.
I cut 3/4 inch foam strips to elevate the template so the clouds would end up with softer lines, and taped it in place. Then I used the cloud templates to airbrush white clouds .
First, determine where the sun is supposed to be in your room, and paint the whitest portions of the clouds in that direction. The darkest sections of the clouds will be on the opposite and bottom side of the cloud from your imaginary sun. When painting the clouds, don't start making the same patterns, leave them irregular and different sizes.
Clouds are very difficult to do well. But a very successful method is to use cut out profiles and spray tones of white and gray using aerosol flat acrylic paint
Remember that the cloud will be irregular at the top, but mostly flat across the bottom. Paint the top edges and about half way down into the cloud with the titanium white.

No comments:
Post a Comment